Kill Team Board Build 2023
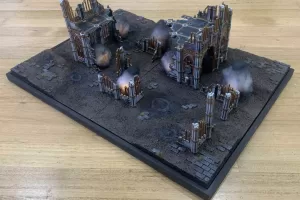
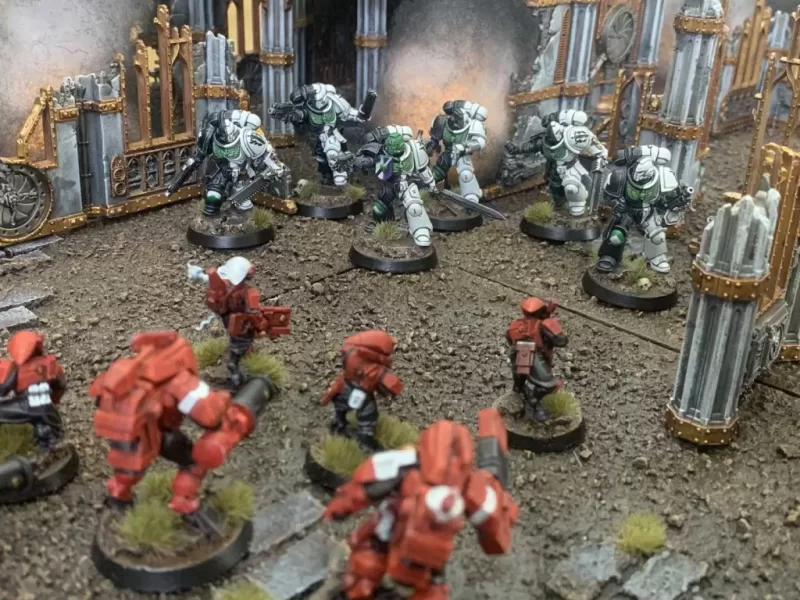
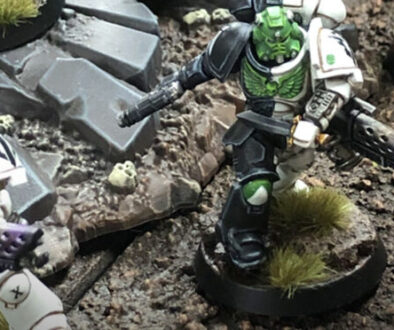
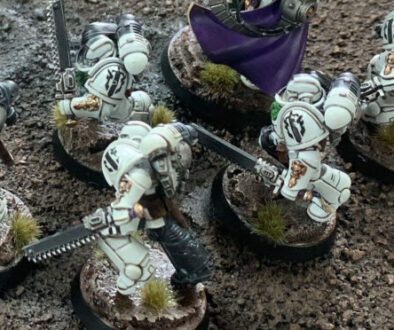
When coming back into the hobby in 2021 I had two goals; Paint up a unit of space marines to play in Warhammer 40K: Kill Team and make my own board to play on.
Gone were the days of wanting to play on just a kitchen table with a few stacked books and old Milo tins (Not that there is anything wrong with that).
Now just quickly; This project was not done over a weekend. It was an on-and-off again project over several month when I had an hour or two of time to spare.
PROJECT GOALS:
- I wanted to build something I was proud of.
- I didn’t want it to be just a static board.
- The board to have as slight bit of verticality to it.
- The cost was not going to break the bank
- Need to be light weight, and be able to be packed up for storage.
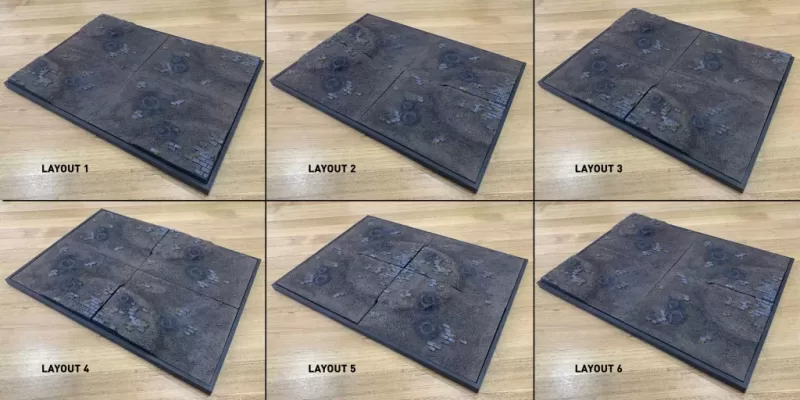
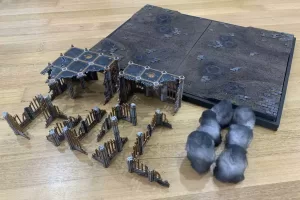
The plan was to have a wooden frame and 4 pieces of XPS foam that would sit in the frame. These 4 pieces would need to be able to rotate and switch about as needed to give the board several different layouts.
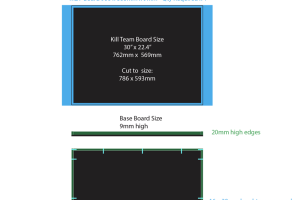
- Working out the size of the frame and materials needed
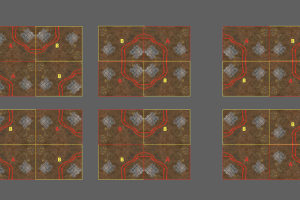
- Initial concept of having two A and B pieces that could be rotated for 6 different layouts
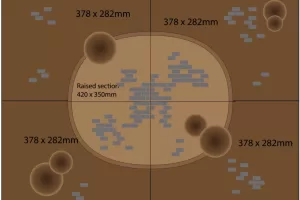
- Rough layout of final look of the board
After what seemed like months of planning. I finally pulled the trigger and started my first board build. Yes, I had made ruins and buildings before, but nothing to this level.
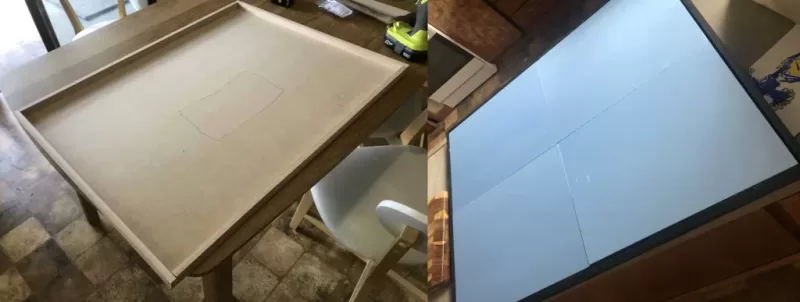
With a trip down to the local Bunnings (a hardware store here in Australia). I managed to pick up the material I needed to start my build for the frame that the 4 pieces of XPS foam would sit in.
MATERIALS:
- 6MM MDF Board (Cut to size: 786mm x 593
- 3x strips of 1.2m Tasmania Oak 20mm x 1.2mm (cut to 2x pieces 762mm lengths, 2x pieces cut to 593mm length)
- 20mm thick XPS foam (4x pieces cut to 378mm x 282mm)
- 16x 30mm wood screws
- Black Spray paint
- Black acrylic paint
- Burnt Umber acrylic paint
- Citadel Paints
- Gamer Grass Tufts
- PVA / Wood Glue
- Air drying clay
- Wooden Skewers
- 2mm thick A4 cork sheet
- 10mm thick Polystyrene sheet left over packing from new washing machine(Cut to 420mm x 350mm)
- Sand
THE BUILD:
After the friendly staff and Bunnings in the trade area were kind enough to cut the MDF and Oak strips down to size, I could easily put them in the car and start assembling the frame at home.
Once the frame was assembled, and the edges were filled with a bit of wood putty and sanded down, I gave the whole board two coats of black spray paint.
Onto the board build!
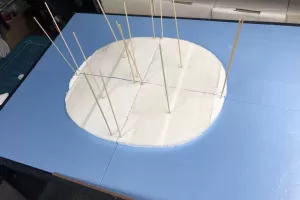
Placing the XPS foam pieces into the frame, I used an excessive amount of PVA glue and wooden skewers to put down the Polystyrene sheet into the middle. Using a few books to keep it firmly in place while the glue dried.
- Foam sheet pinned in with wooden skewers
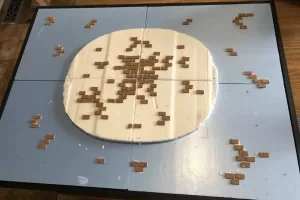
- Cork tiles added with PVA
- Air drying clay used for craters and hill edges
Placing the XPS foam pieces into the frame, I used an excessive amount of PVA glue and wooden skewers to put down the Polystyrene sheet into the middle. Using a few books to keep it firmly in place while the glue dried.
Using a knife to bevel the edges on the hill, and then cutting along the breaks of the XPS foam to separate it into it’s 4 sections.
Adding over 100 cork sheets pieces cut down to 20mm x 10mm pieces and laying them out like stone pavers scattered over the board, I used air drying clay to smooth out the edges of the hill and also make some craters to give even more detail. The key here was to make sure that the areas weren’t raised too high or steep, so models could still sit on them without fear of them falling over and getting paint chipped.
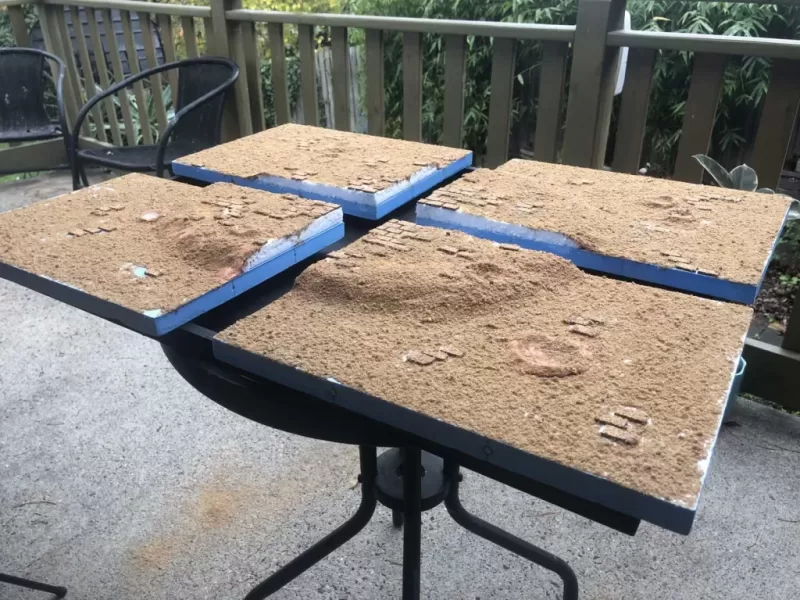
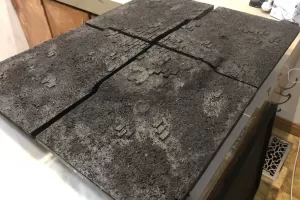
The next step was applying a liberal amount of PVA glue and covering it with sand, once dried, I applied 3 more coats of watered down PVA to help seal in the sand, so it wouldn’t come loose and fall off over time.
- Lots and lots of sand!
PAINTING:
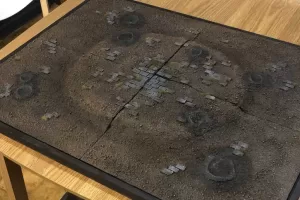
I didn’t want to risk using a spray can and have the foam sections melt on me after all this hard work over the past 5 months, so I took a larger brush, and did several coats of acrylic black paint over the entire board, followed by 2 coats of burnt umber brown acrylic paint. Once dried I went in with drybrusing of the whole board, Starting with Citadel Dryad Bark, followed by Citadel Mournfang Browm and then a very light dry brush on some raised areas with Citadel Ushabti Bone.
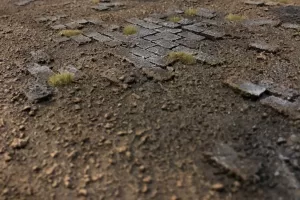
The cork pieces were dry brushed individually using Citadel Mechanicus Standard Grey, then with a light drybrush on just the edges of Citadel Administratum Grey
The craters and the area around them were painted black again to give them a scorched earth look, and then a light drybrush of Citadel Mechanicus Standard Grey was applied.
Finally I added some Gamer Grass Mixed Green 6mm Wild Tuffs all around the board as I saw fit.
- Black base with Burnt Umber
- Finally painted!
- Close up photo
After another coat of black acrylic paint around all the edges. The board was done!
- The 4 sections can be orientated into 6 different layouts
TERRAIN:
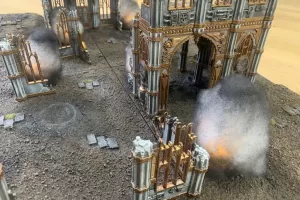
I always wanted to add some smoke effects. I found some $3 set of 6 LED tealight candles from Bunnings. After hot glueing some Polyester Hobby Fill around the base and giving them a quick spray of black on the tips and bases, these were done.
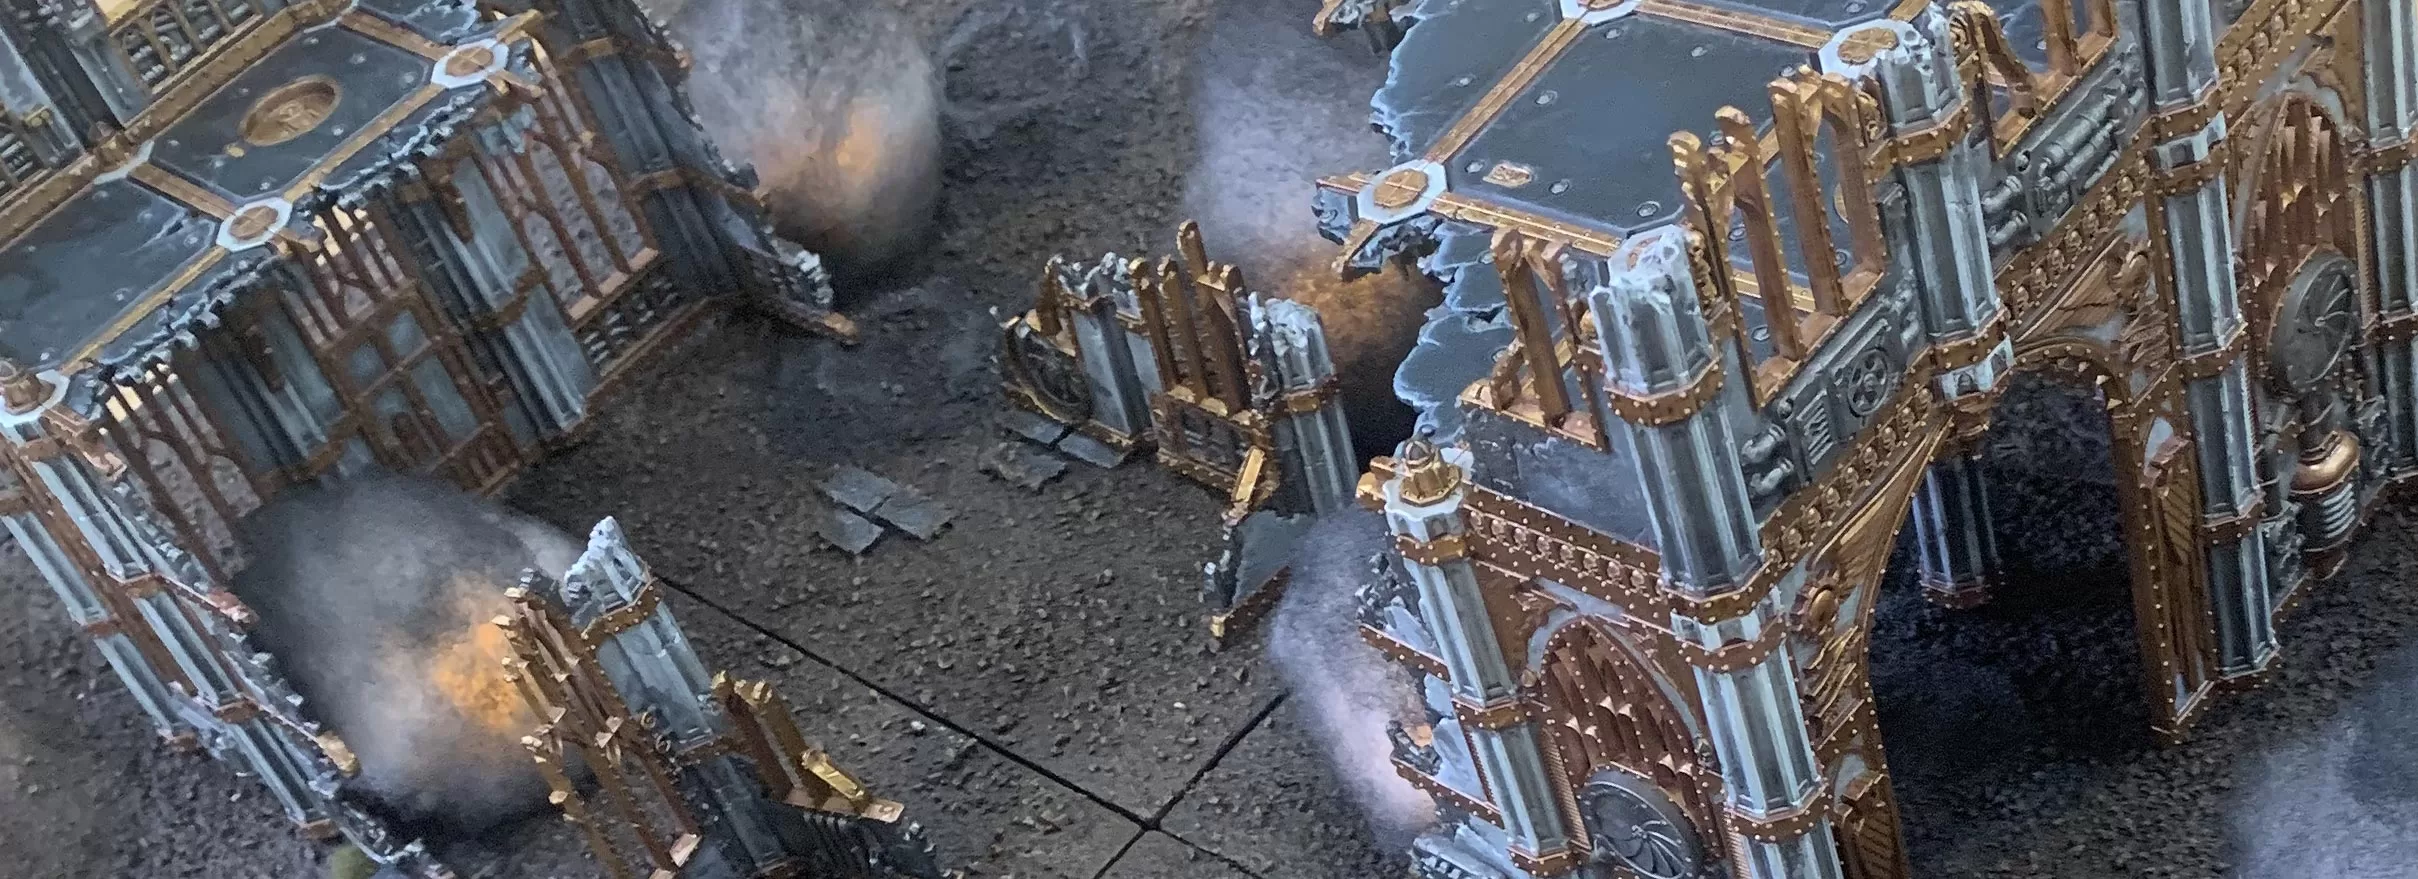
Wanting the terrain to tie to the background lore of my space marine chapter, I painted the Kill Team Chalnath Sector Imperialis terrain with a white stone/marble look and Gold details. Starting with a base coat of black spraypaint and then doing a zenithal spray of Citadel Grey Seer on each piece.
The stone work was done first, with all areas covered with Citadel Agrax Earthshade and then dry brushed with Citadel Ulthuan Grey.
The gold areas were all painstakingly painted first with Citadel Balthasar Gold, this was then followed by a quick brushing of Citadel Retributor Armour, and a wash of Citadel Agrax Earthshade.
The metal areas were painted with Citadel Leadbelcher, and washed with Citadel Nuln Oil.
That was it! It took me roughly three months of on-and-off again painting to complete the terrain and I left all the ruins modular so I can stack and change the layouts as needed for the different missions.
FINAL THOUGHTS:
I learnt a lot from this build. Mainly that planning is the key element. Take your time if you can, and enjoy the process.
I think if anything, I would next time have a second project on the go, that way I can mix up my hobby time every week without it feeling like a real battle.
Instead of using the air drying clay, I might look at using a heat gun in the future to help shape the areas and give the ground a bit more of a organic look if possible.
Well, thats it for now. I hope you enjoy the images, now it’s time to get some games of Kill Team in!
